Tuesday, March 5, 2019

Rebuilding and painting components and priming the frame

We worked further on may of the chassis parts and the frame this week.

The starter needed a good rebuild and clean up - semi-gloss paint in the background which is what I'll use to paint these components.

Starter winding looks good...just a little cleaning

After bead blasting the starter - ready for paint

Semi-gloss black paint to finish it off.

Fan shroud after bead blasting

The original jack before restoration.

In the bead blaster...

Back to my work bench and ready for paint.

Completed jack

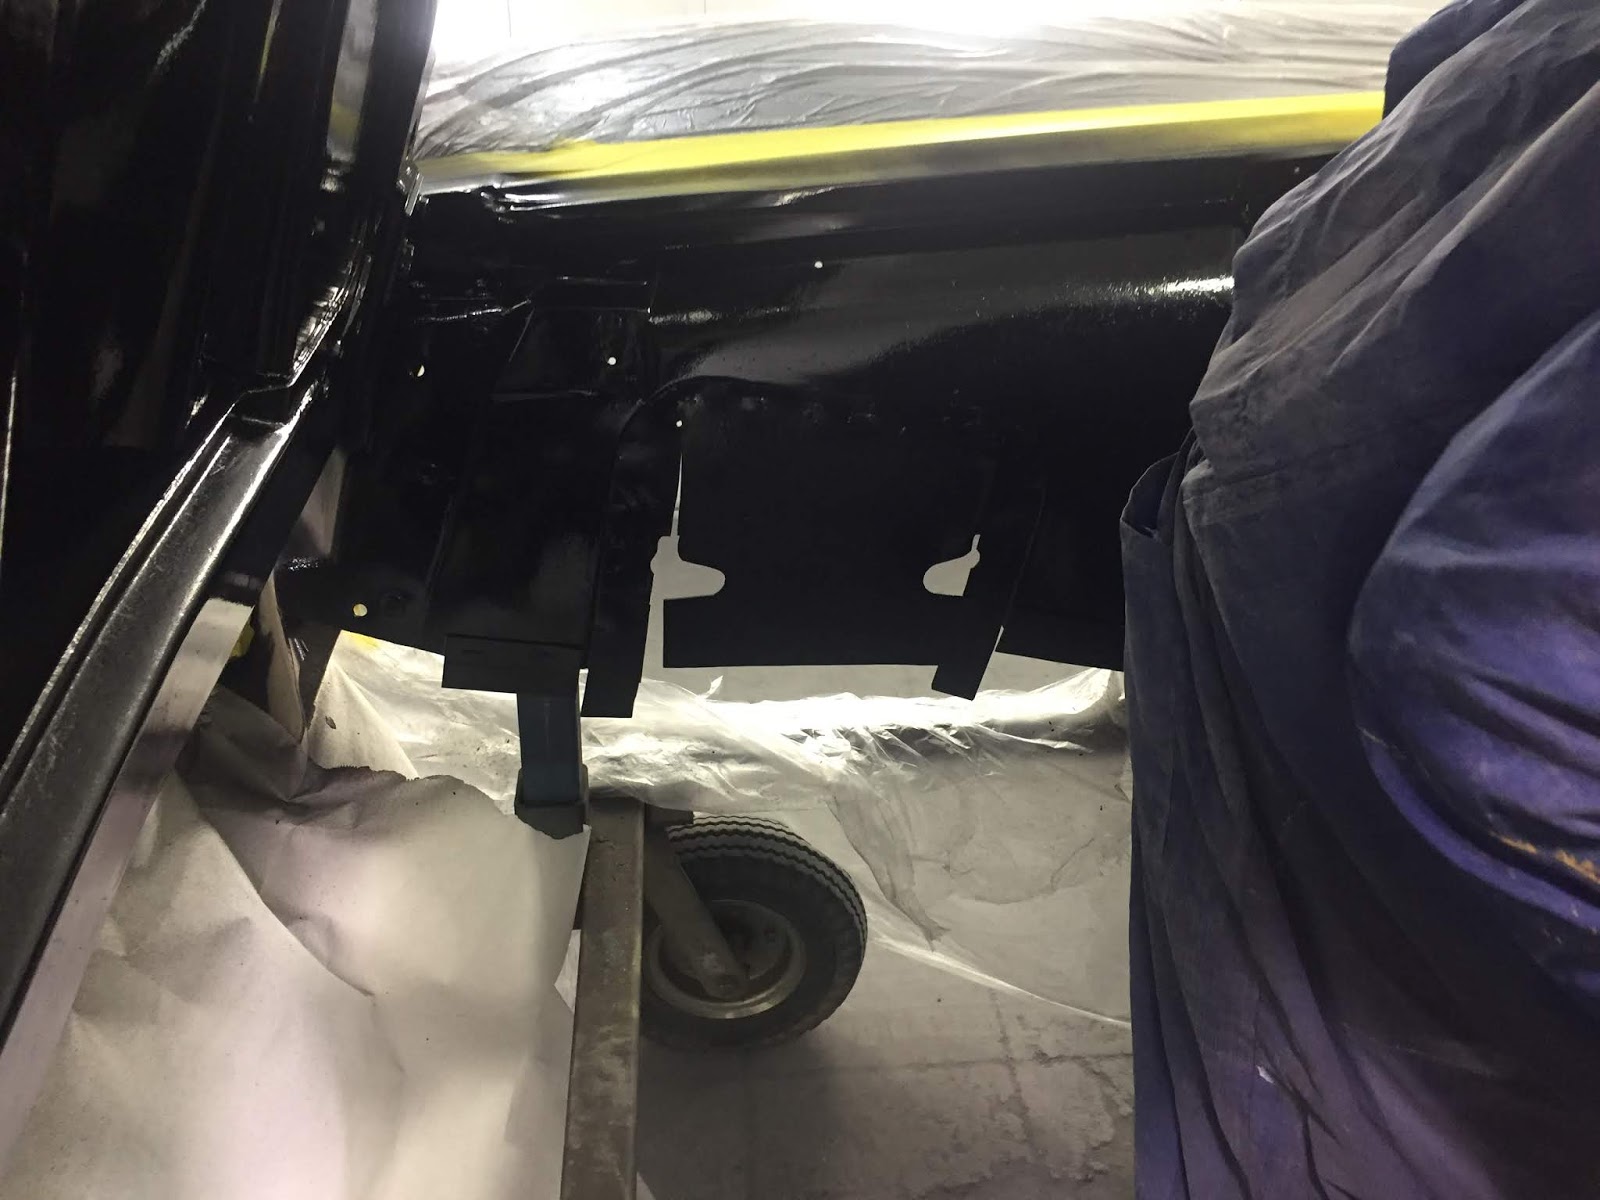
Dale painted the frame with a sealer/primer before painting the satin black tomorrow.

And the cross member....the original impossible to find 1963 bushings are taped up.

Monday, March 4, 2019

March 2019...prepping parts and the frame

Its March 2019 and we're working to finish the car by June to take it to the Bloomington Gold Show in Indianapolis and then the NCRS Nationals in Greenville, SC in July.  We're coming down the home stretch, but still a lot of work to do.  This week I'm working on getting the frame primed and painted and lots of parts, including brake drums, starter, springs and more.


Front springs in the glass bead blaster to clean up

Matching up to the Z06 Bible

Adding the proper Z06 green marking to the springs
Complete and ready for installation


Placing the bell housing in the hot wash/cleaning machine

After washing and light bead blast, the bell housing came up nice

Z06 finned drums reading for painting
Lower A-arm we sent out for powder coating


Thursday, February 14, 2019

Paint Job Complete...out in the sun

We brought the car outside of Autobody Dimensions today to see how well the buffing looks.  It's a killer paint job...


Wednesday, February 13, 2019

Buffing the Z06 Paint - Day 3

The third day of buffing out the car.  The goal is to remove much of the orange peel, but leave just enough that would be similar to a factory paint job.  So, we remove much of the orange peel on the top surfaces, leave much of it below the belt line.  We use a wide 8 inch wool buffing pad, just as they used in the factory.  Videos are narrated by Tony Avedisian, owner of Tony's Corvette Shop in Gaithersburg, MD.


Completed job...

Tuesday, February 12, 2019

Buffing the Z06 - Day 2

After the test buffing yesterday, we started buffing the car today and spent a good 8 hours.  The first video is with the wool cover.  You can hear Tony Avedisian of Tony's Corvettes in the background describing.  It's a little hard to hear on the first video.  Typically a lacquer job is color sanded to remove the orange peel, but since we're aiming for a factory typical paint finish, we're going to only buff out the paint so that we can see exactly how much orange peel we remove.  This way, we don't go too far in some areas while leaving too much orange peel in other areas.  In general, we'll only lightly buff below the belt line of the car as those factory workers typically didn't spend a lot of time bending over and buffing out in those areas.


Monday, February 11, 2019

Test buffing the Z06 - Day 1


Brandon started some test buffing today to see how much orange peel we'd leave in the paint.  We're targeting a factory finish with this car.  So, we'll leave some light orange peel in the top parts, leaving the lower sides of the car lightly buffed with more orange peel...just like the factory.


Friday, February 8, 2019

Painting blackout in the engine compartment, inside wheel wells and under the hood

Dale painting the engine compartment and under the hood.

All ready to paint the engine compartment.

Dale climbing in from underneath.

Painting the wheel wells, vent area completed. 

Painting the firewall, blue tape on left side is protecting the Z06 factory job writing.

Blackout on the underside of the hood.

Blackout on the windshield wiper bays.

Completed wheel wells.

Blackout inside the wheel wells.

Just checking the Z06 lettering under the passenger floor boards, Job #6

Prepping for painting the engine compartment

Prepping the Z06 to paint the engine compartment, hood, and the undercoating on the inner fenders. We elected to paint the engine compartment with the hood on, just as they did in the factory.


Interior painting - A few more shots of the interior painting

Completion of the doors
Spare tire jack area
Rear 

Interior - Painting red lacquer on the doors, rear bulkhead

Painting the edges in the rear bulkhead
Inside drivers door - looking sweet
Inside the passenger door

Thursday, February 7, 2019

First Test Buffing of the Paint

We completed painting back on December 22, 2018.  Today we buffed out a couple of spots to see the results.  The first picture is buffing only and the second is compound and then buffing.  We'll do the compound and buffing on the majority of the car.  Leaving the underside a bit dull as it came from the factory.


Buffing only...still see some orange peel in the paint.


Compound and buffing - brings out the lacquer shine.

Tuesday, January 29, 2019

Sandblasting the Frame

With the painting of the body complete, next step is to sandblast the frame.  We were waiting for a break in the rain and cold but finally went for it on January 29 in between a small snow storm.  For a 55 year old car, the frame came out amazingly clean.  Next steps is to paint and start building the chassis.
Starting to sandblast the frame.


Halfway complete


Sandblasting completed and back at the shop.