Wednesday, May 29, 2019

A few shots of the completed stainless and interior

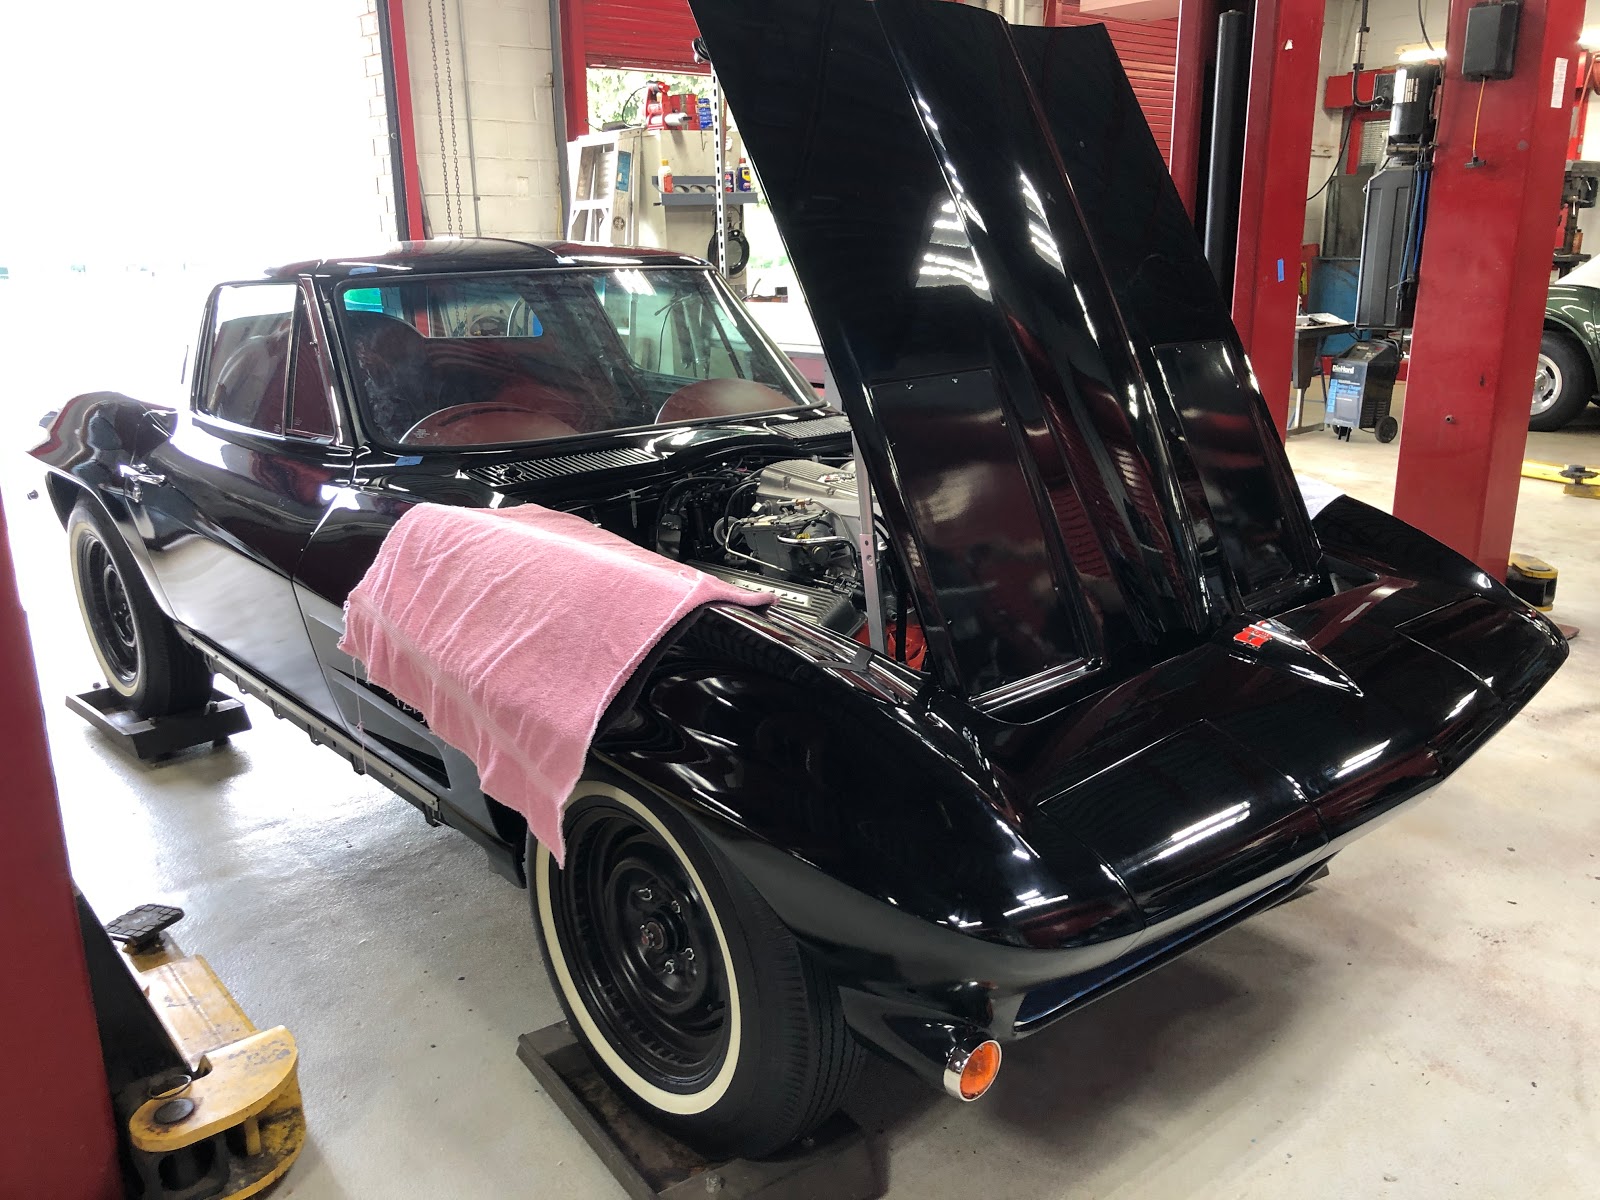
This shot seems a little blurry...maybe some dirt on the lens, but it's the only one I have of the rear of the car today.


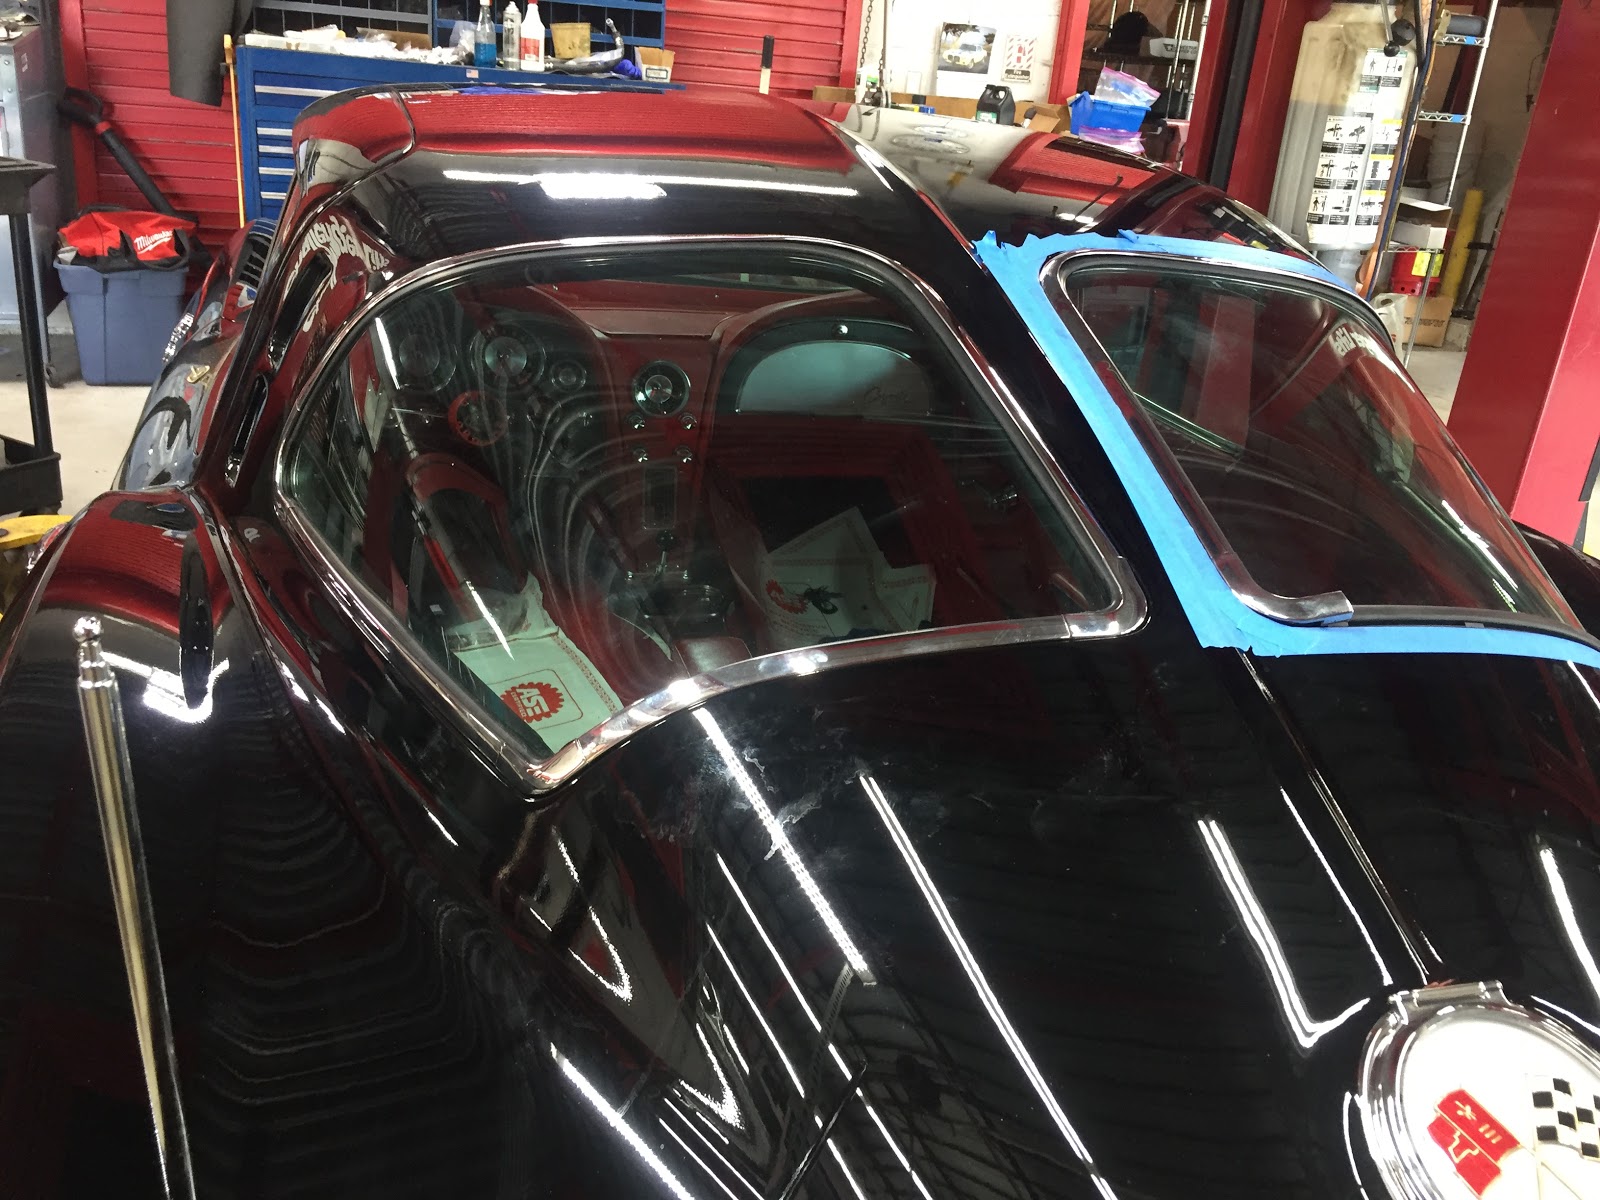
The interior is close to completion...steering wheel is in, seats, seatbelts. console....looking sharp.

Front bumpers installed.

Shot of the front bumpers...the cookie tins on the hood, nice example of very clean originals.


Monday, May 20, 2019

Rear split window stainless install

Finishing up the stainless window trim, install of the rear split window trim.


Finally installed the stainless around the split window...it's not easy, thank you Andrew and Tony.


The blue tape helps to keep from scratching the paint.

Putting on the windshield stainless trim

It's not an easy process to get the stainless on without chipping the brand new paint job.  It takes a little tape and a ton of time to get the stainless on and then a lot more time to get it fitting just right.  Below are some shots of the completed install.


Wednesday, May 15, 2019

Finishing off the interior, rocker panels


Rear windows are in, adding the interior trim and moldings.

Sun visors and rear view mirror.

Brand new NOS rocker panels...looking awesome.

View of the right rocker panel, top.

Monday, May 13, 2019

Installing the interior trim moldings

We're finishing off the interior with the red moldings around the windows, etc.


All the moldings were painted in corvette red lacquer.

More window trim fitted into place.

Installed the cover at the rear of the headliner.

Andrew installing the finishing touches in the front.

Wednesday, May 8, 2019

Wednesday, May 8 - First engine start day


Today and the past week, was an amazing milestone after 18 months of restoration.   We bolted the body to the frame and started the car for the first time.

I was lucky to find Tony's Corvettes. Not only did Tony write the book on 1963 Z06 Corvettes, but I was actively involved in every major step of the restoration and I don't believe there's another shop in the world that can perform a frame off, nut and bolt restoration like Tony and his team did.  We referenced the Corvette AIM, Tony's 1963 Z06 book, and a database of pictures of very original unrestored Z06 cars to assist with how we installed the wiring, nuts and bolts, etc.  The car will be completed in about 4 weeks. 


Installation of the recondition Z06 master cylinder.  Notice the brake hose with original grommet in the power brake booster and clamp.

Underside of the master cylinder.  R2 - revision 2.

We installed the alligator skin upper radiator hose.

Master cylinder cap.  Three dimples, correct writing on top of cap.


   The first start of the motor....sounds beautiful.


Tony captured a picture of me in the car.

Bumpers installed

The orange overspray burned perfectly on the exhaust manifold.


We let the car run for 15 minutes.  Andrew tuned the idle and the timing.  If you have headphones, you can hear the sound of the motor much better than the computer/iphone speaker.

Tuesday, May 7, 2019

Tuesday - May 7, getting closer to the first start of the motor

I took a few more pictures of the originality of the car as we get closer to the first start of the engine.


The screws on the dash, some believe these are black phosphate...they are typically brown in color.

A picture under the dash of original "L" 5 grade bolts.


143 flasher - NOS and the turn signals worked as well....

Headlight motors operate

Headlights work, high and low beam.

We're installing Evans coolant in the system to prevent corrosion.

Testing the coolant system for leaks...26 pounds of vacuum is great.

We had the vacuum draw back in the new coolant

Exhaust system installed

Nice example of an original windshield washer tank cap.  Under the cap, you can typically see the diamond logo and if you hold a flashlight to the cap, the light will come through.  Very original caps are also brown in color (Thank you Marty Fowler for the details on this).

Monday, May 6, 2019

Monday - May 6 - working towards the first start by Wednesday, May 8

I took a few more shots of some of the original bolts on the car as well as some other examples of originality.


Original indented hex head "L" bolt mounting the FI air intake to the radiator support.


Andrew working on installing the heater hoses.

Example of an original "A" bolt used to mount the FI air intake assembly on the wheel well.

Picture of the wiring installation on a starter of an original low mileage unrestored Z06 - we'll set up our wiring the same.  Notice the solenoid and mounting bolt painted black.

Picture of an original battery cable on an unrestored 1963 Z06.

The installation of the starter and wiring on my Z06, matching the unrestored car configuration.


Saturday, May 4, 2019

Lowering the body to the chassis

Ok, it's the big day, we're bringing the body down on the chassis.

We had everyone sign the fuel tank prior to bringing down the body.  Pat, Dan, Andrew and Tony.  I signed the tank back on April 6 when I installed the tank in the car...which happened to be my birthday.

Starting to bring the frame down.


Getting closer.....Tony on the right making sure nothing gets caught.

Super close, 12 inches.

We used the jack to get the rear fenders past the frame.


4 inches away

Tony observing the front

And it's down....


The body is on the frame and everything is at the correct height as well.


Here's a video of the moment when the body rested on the chassis.


Is that cool or what????


The red interior really pops!!!

We need to adjust a few items....gas tank needs to slide slightly right.